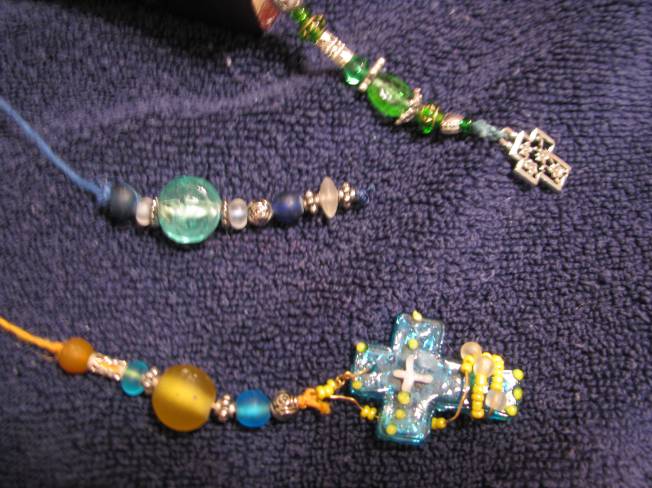
 Terrible pictures–I’ll try to get some better ones, but I wanted to put in something. I was asked to do a beaded key chain craft for our MOPS group this year. As I was working on developing that craft, I came up with the book mark also. I really love these book marks because they don’t fall out of the book. They also look very beautiful. This is another craft I couldn’t really find on the internet, so I’m posting the instructions here for other people.
Beaded Keychain or Bookmark
Materials
Thin hemp like string
Glass beads
Keychain ring
Clear nail polish
Scissors
Instructions for Keychain:
- Take the string and fold in half. Put the loop through the keychain ring and open it up to bring the two ends through. Pull tight.
- Put beads on each side of the string. You will want a couple of small beads at the top of each side. Then alternate small and large beads until the chain is as long as you want (3 inches is about right).
- Tie the ends of each strand in a double or triple knot. Put a small drop of clear nail polish on each knot to hold it.
Instructions for Bookmark
- Decide how big you want the middle part to be. For a large Bible or hardcover books 9” is best. Smaller books are closer to 6-7”. Tie a double knot on each side of the middle marker part.
- Put beads on one side of the string. It usually works best to alternate small beads with larger ones. Put the largest bead at the end.
- Tie with a double or triple knot so last bead can’t fall off. Put a small drop of clear nail polish on knot to hold it.
Note: If you are having trouble putting the beads on the string, try cutting the string or putting nail polish on the end and letting it dry.

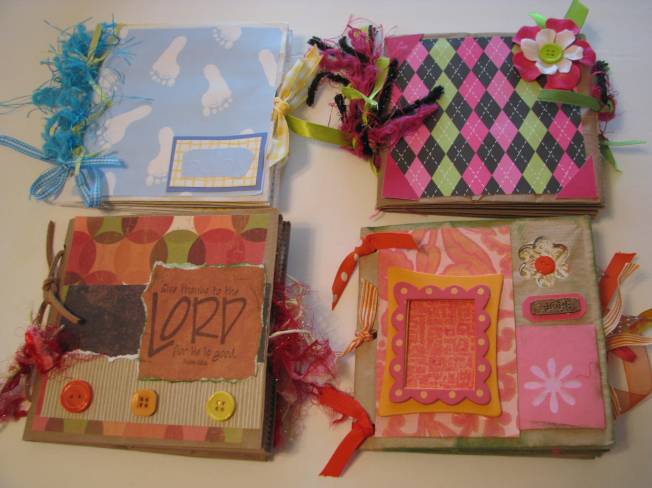
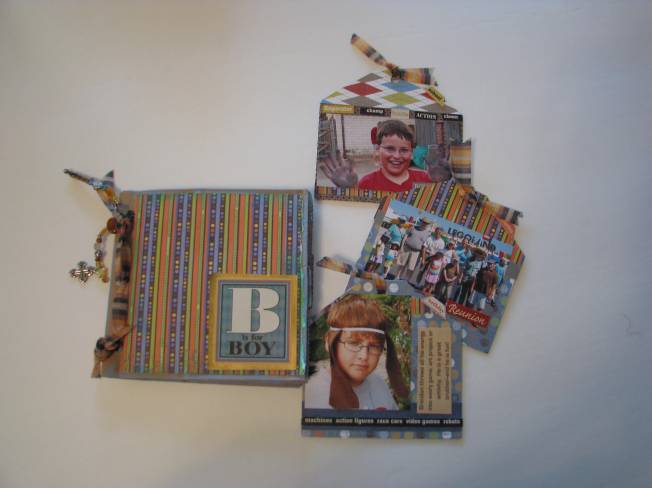
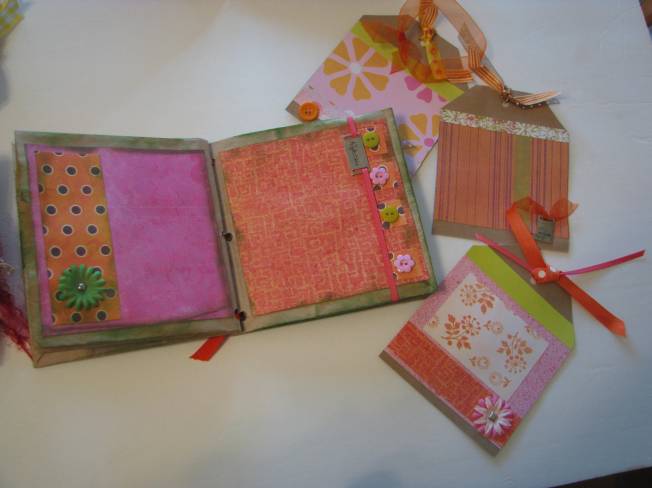
 When I first saw these cute scrapbooks, I looked all over the internet for instructions. I finally made these up myself. I did thisthis craft at the Ladies Craft day at my church, for kids groups, birthday parties and for gifts. I think they’d work great for scout troups or any other group. I give instructions on How to make Paper Bag Scrapbooks for a Group at my hubpages account here. I include how to package the scrapbooks as well as a lot of pictures on how to do it:

 Terrible pictures–I’ll try to get some better ones, but I wanted to put in something. I was asked to do a beaded key chain craft for our MOPS group this year. As I was working on developing that craft, I came up with the book mark also. I really love these book marks because they don’t fall out of the book. They also look very beautiful. This is another craft I couldn’t really find on the internet, so I’m posting the instructions here for other people.